Kino for editors
Your footage, editing, and reviews can all live in Kino.You can also adopt Kino as your video infrastructure piece by piece.
Footage
Store your organization’s whole library in Kino. Search every clip by what’s said or shown.
Editing
Import a Premiere, Resolve or Final Cut project into Kino and keep cutting.
Reviews
Send a link. Notes land back in the timeline.
For those coming from DaVinci, Premiere, or other pro tools
| You call it | In Kino |
|---|---|
| Marker | Marker, a comment you can type into |
| Frame.io link | Review link |
| After Effects comp | Graphics clip you edit on the timeline |
| Assistant editor | The agent |
Set up the team
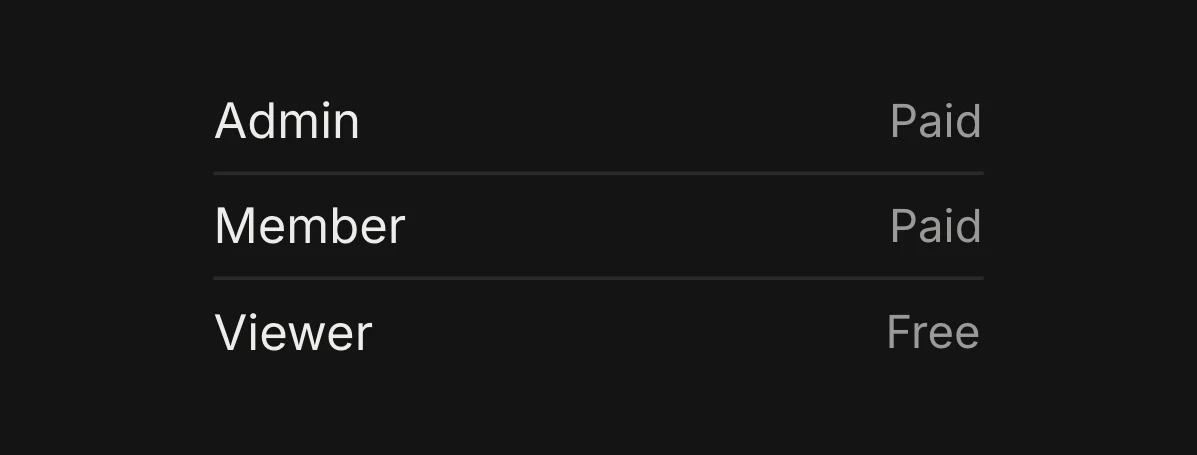
Create one organization per client to keep their media, projects and brand kits separate. See Work with your team for shared editing, roles and seats.
Bring in footage
Drag files or folders onto Kino. Camera originals play without a transcode, R3D and BRAW included.
Kino uploads a 720p proxy of every clip by default, so your team can play it on any computer. The originals stay on your drive.
 Original
You, with the drive
720p proxyEveryone else
To upload an original, right-click the clip in the library and choose Upload original.
Language settings
Open Settings → General → Language. Language changes the interface for you. Use system language follows your browser or app's preferred language; choosing a specific language saves your preference.
AI output language sets the language for the workspace's generated titles, summaries, chapters, and visual descriptions. It defaults to English. Any workspace member can change it, and it applies to future processing and explicit reprocessing of existing media.
Transcription detects the language spoken in each file and keeps the transcript in that language. For example, Spanish speech produces a Spanish transcript. Choosing Dutch as the AI output language produces Dutch summaries and descriptions while preserving the original transcript.
Pull selects
Search every clip by what’s said or shown and drag hits into a bin, or ask the agent:
Watch everything in the Day 1 bin and make a Selects bin with the best answer to each interview question.
Cut
J, K and L shuttle, I and O mark in and out, and B splits at the playhead. Or have the agent build a stringout first:
Lay out the Selects bin as a six-minute stringout in story order.
Checkpoints
Press ⌘S to save a checkpoint. Kino also saves one whenever an agent changes the project. Click Checkpoints, the clock icon in the nav bar, to preview one, and choose Restore this version to go back to it. To try another direction, duplicate the project.
Graphics
Give the agent a client’s website and it builds a brand kit from the logos, fonts and photos on it. Mention the kit with @ and the agent makes titles and lower thirds in that brand.
To match an earlier video’s look and pacing, start a chat with Match a past video’s style and give it the project, a clip from your library or a YouTube link. YouTube links need the desktop app.
Use Claude for graphics.
Add a lower third for each speaker in the @Field Notes brand. Keep them clear of faces and hold each one for four seconds.
Generate shots
The agent generates images, video, music and voice. Generation is billed separately from agent usage. See Generated media.
Generate a six-second shot of a woman asleep on her side in soft morning light, then put the episode title over it in the @Field Notes brand.
Color and sound
Set a Source LUT in the viewer, and every clip you insert from that file gets it. To change one clip, use Look (LUT) in the inspector. Both menus import .cube files.
The agent grades log footage, matches cameras, evens out speaker levels and removes mic bleed between tracks:
Match the B camera to the A camera in this interview, then even out the levels between the two mics.
Review
Send a review link to whoever signs off. Their comments land on your timeline at the frame they were left on.
Press M to drop a marker at the playhead, and type into it to leave a note.
Deliver
Once the cut is locked, ask the agent for other sizes. It reframes shots and moves graphics to fit.
Make a 9:16 version of this episode, then three vertical clips under 45 seconds with captions.
Export renders ProRes, H.264, H.265, VP9 and AV1. For graphics with alpha, set Background to Transparent, and Kino switches to MOV · ProRes 4444.
More for editors
Import from DaVinci, Premiere and more
Opens .drp, .prproj and .fcpbundle files and CapCut draft folders.
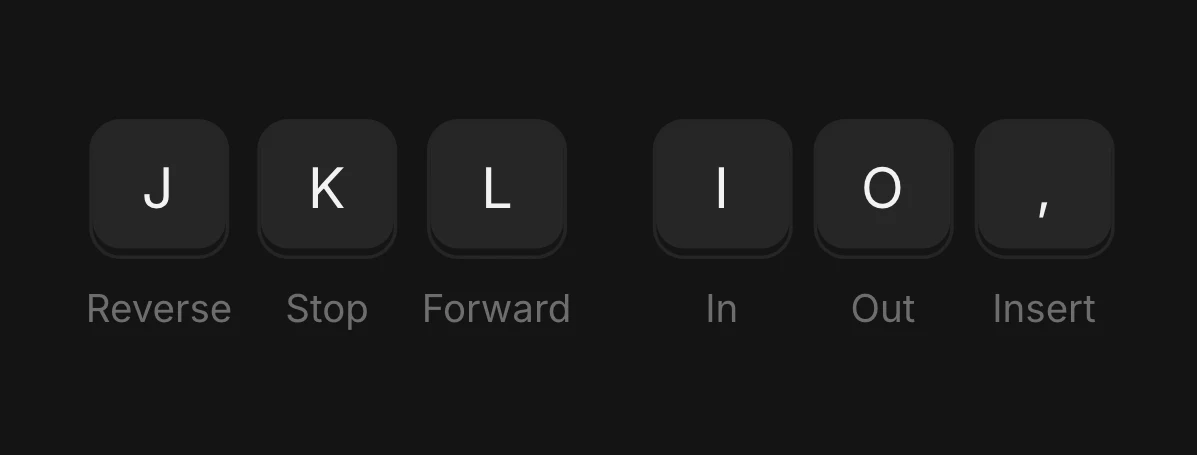
Keyboard shortcuts
⌘K searches your media, transcripts and actions.
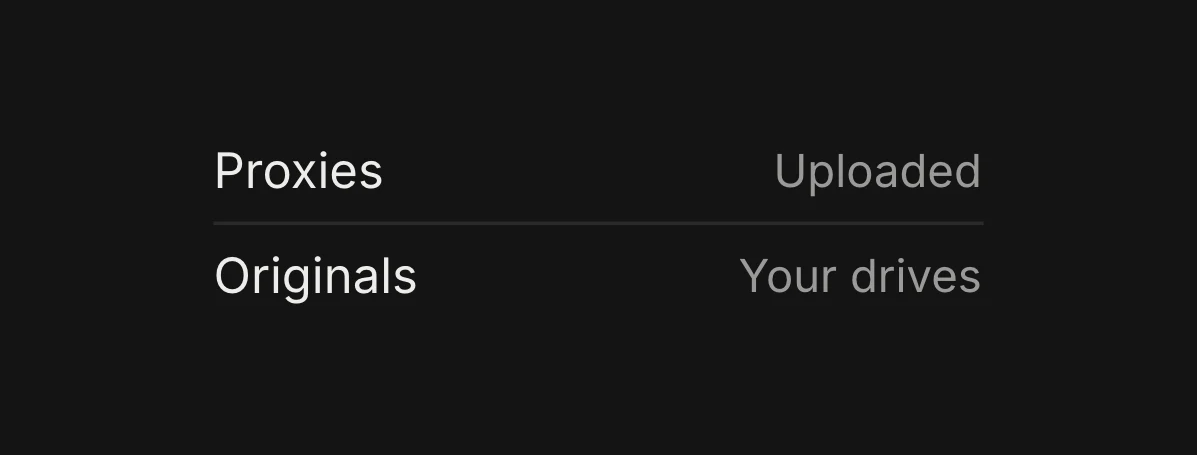
Footage and storage
Supported codecs, what uploads and storage per plan.
Work with your team
Roles, review links and what each plan includes.